How to Make a Simple Lavender Filled Christmas Cone or Tussie Mussie

Happy Monday!
I love Monday, the first day of the work week, a week ripe with possibility and promise. Especially after a wonderful weekend at the Christ Kindle Markt meeting new people, seeing old friends and followers of Turkey Creek Lavender, and talking about the lavender, the soap, and so much more! There was such inspiration, and so many talented and creative people! I'm always so energized after a show. The wheels start turning and I can't wait to start something new.
So before I begin my holiday cleaning, decorating, and baking marathon, I wanted to share a simple Christmas decoration that I made, and sold at the shows, using lavender: Lavender Filled Christmas Cones.

So many of you are already scrapbookers, or, like me, are obsessed with beautiful paper and pattern. And many of you have already made cones before. Many of you are just lavender lovers, or are looking for a little French feel for your Christmas tree. Perhaps you purchased some of our lavender bundles...

...or grew your own, and now have an abundance of dried lavender. Well, here's an easy and quick tutorial on how to combine all of these things. The beauty of it is you have carte blanche to be creative in your choice of papers, ribbon, embellishments, glitter, trim, charms, lace, etc. So easy, so elegant, and it smells so divine!
You will need: lovely scrapbook paper, sheet music, or book pages, ribbon, double sided tape, tacky glue, dried lavender, and any other embellishments of your choice.

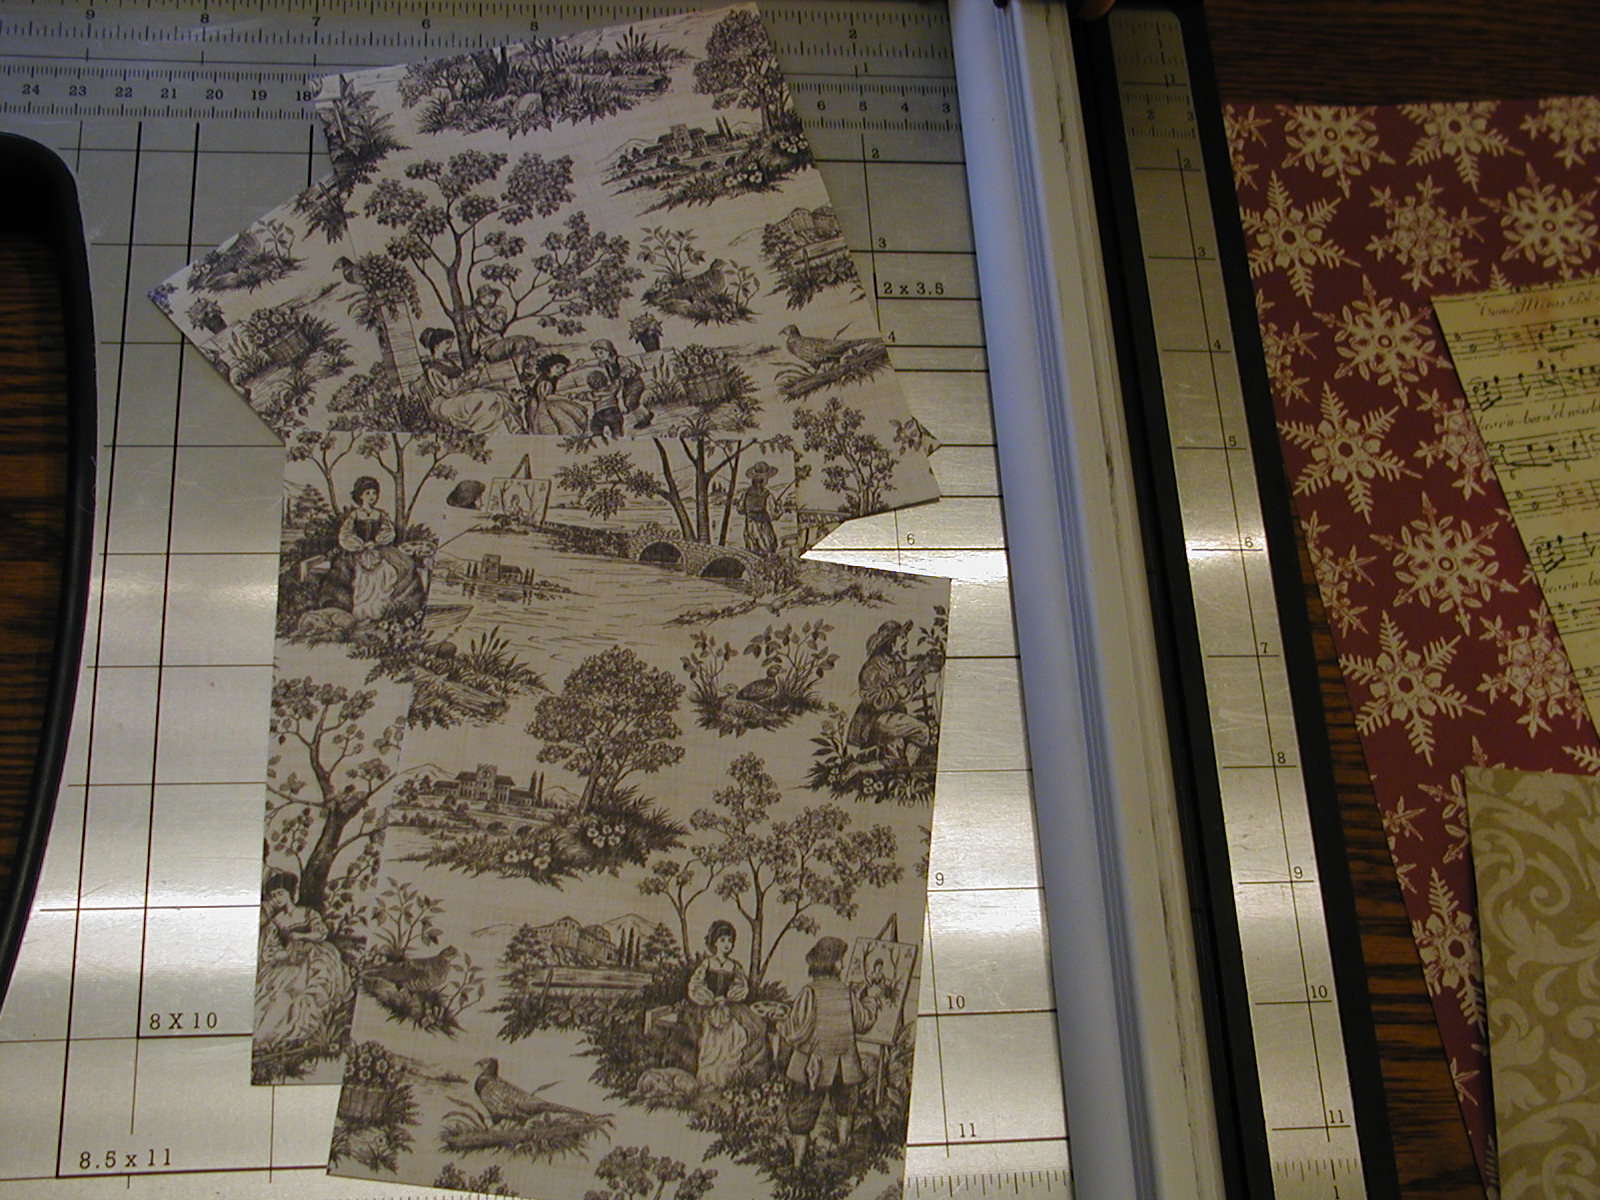
First, select your paper. I mostly use 8 1/2 x 11 but you can use the larger sized paper, the double sided paper, whatever paper you want dictated by whatever size cone you want. For the sake of today's tutorial I am using the 8 1/2 x 11.
Cut the paper in half...

...and in half again. In other words, quarter it.
Now you have four 3 1/2 x 5 1/2 pieces. Roll one square into a cone shape...

...open back up and apply double sided tape to the end...

...re-roll into a cone shape, pressing to seal, and making sure the point of the cone is tight. Sometimes I have to apply a small piece of double sided tape to the edge at the tip so it lays completely flat.

Now you have a lovely little cone.

Just trim off the excess and you're ready to apply ribbon. Sometimes I leave it like this and add ribbon all the way around, and put the hanger on the back, making a little tussie mussie. Either version is cute.

Don't worry if it's not perfect, you'll be covering the edge with ribbon.

Now choose your ribbon...

...apply double sided tape to the edge...

...wrap ribbon around the top of the cone over the double sided tape, overlapping slightly...

...you can tack down the end with a smidge of tacky glue if needed...trim off the excess ribbon...cut a desired length of ribbon for the hanger and apply double sided tape to the end. Press on the inside of the cone, and repeat on the opposite side. I extend it pretty far down in the cone so it doesn't pull lose.

And here's your cone, ready to fill!

Gather a little bundle of lavender together, enough to generously fill your cone, and trim to fit down inside.

Squirt tacky glue into the tip of the cone (this is why you want that tip tight!), and put your cute little bundle of lavender inside, pressing down into the glue.

Voila! Lovely little lavender filled cones for your tree, your wreath, your garland, for gift giving, ornament exchange, to attach to gifts, to include in gift bags, and so on.

Now you can get out your old buttons, lace, etc. and glue on. I like to keep it simple so I usually don't add anything, preferring to let the lavender and lovely paper shine. But occasionally I add an antique button or two.

Good luck with your holiday decorating. I hope you're adding a little lavender love in here and there.
Cathy
"Taking lavender out of the closet and bringing it into your life every single day!"


Comments